

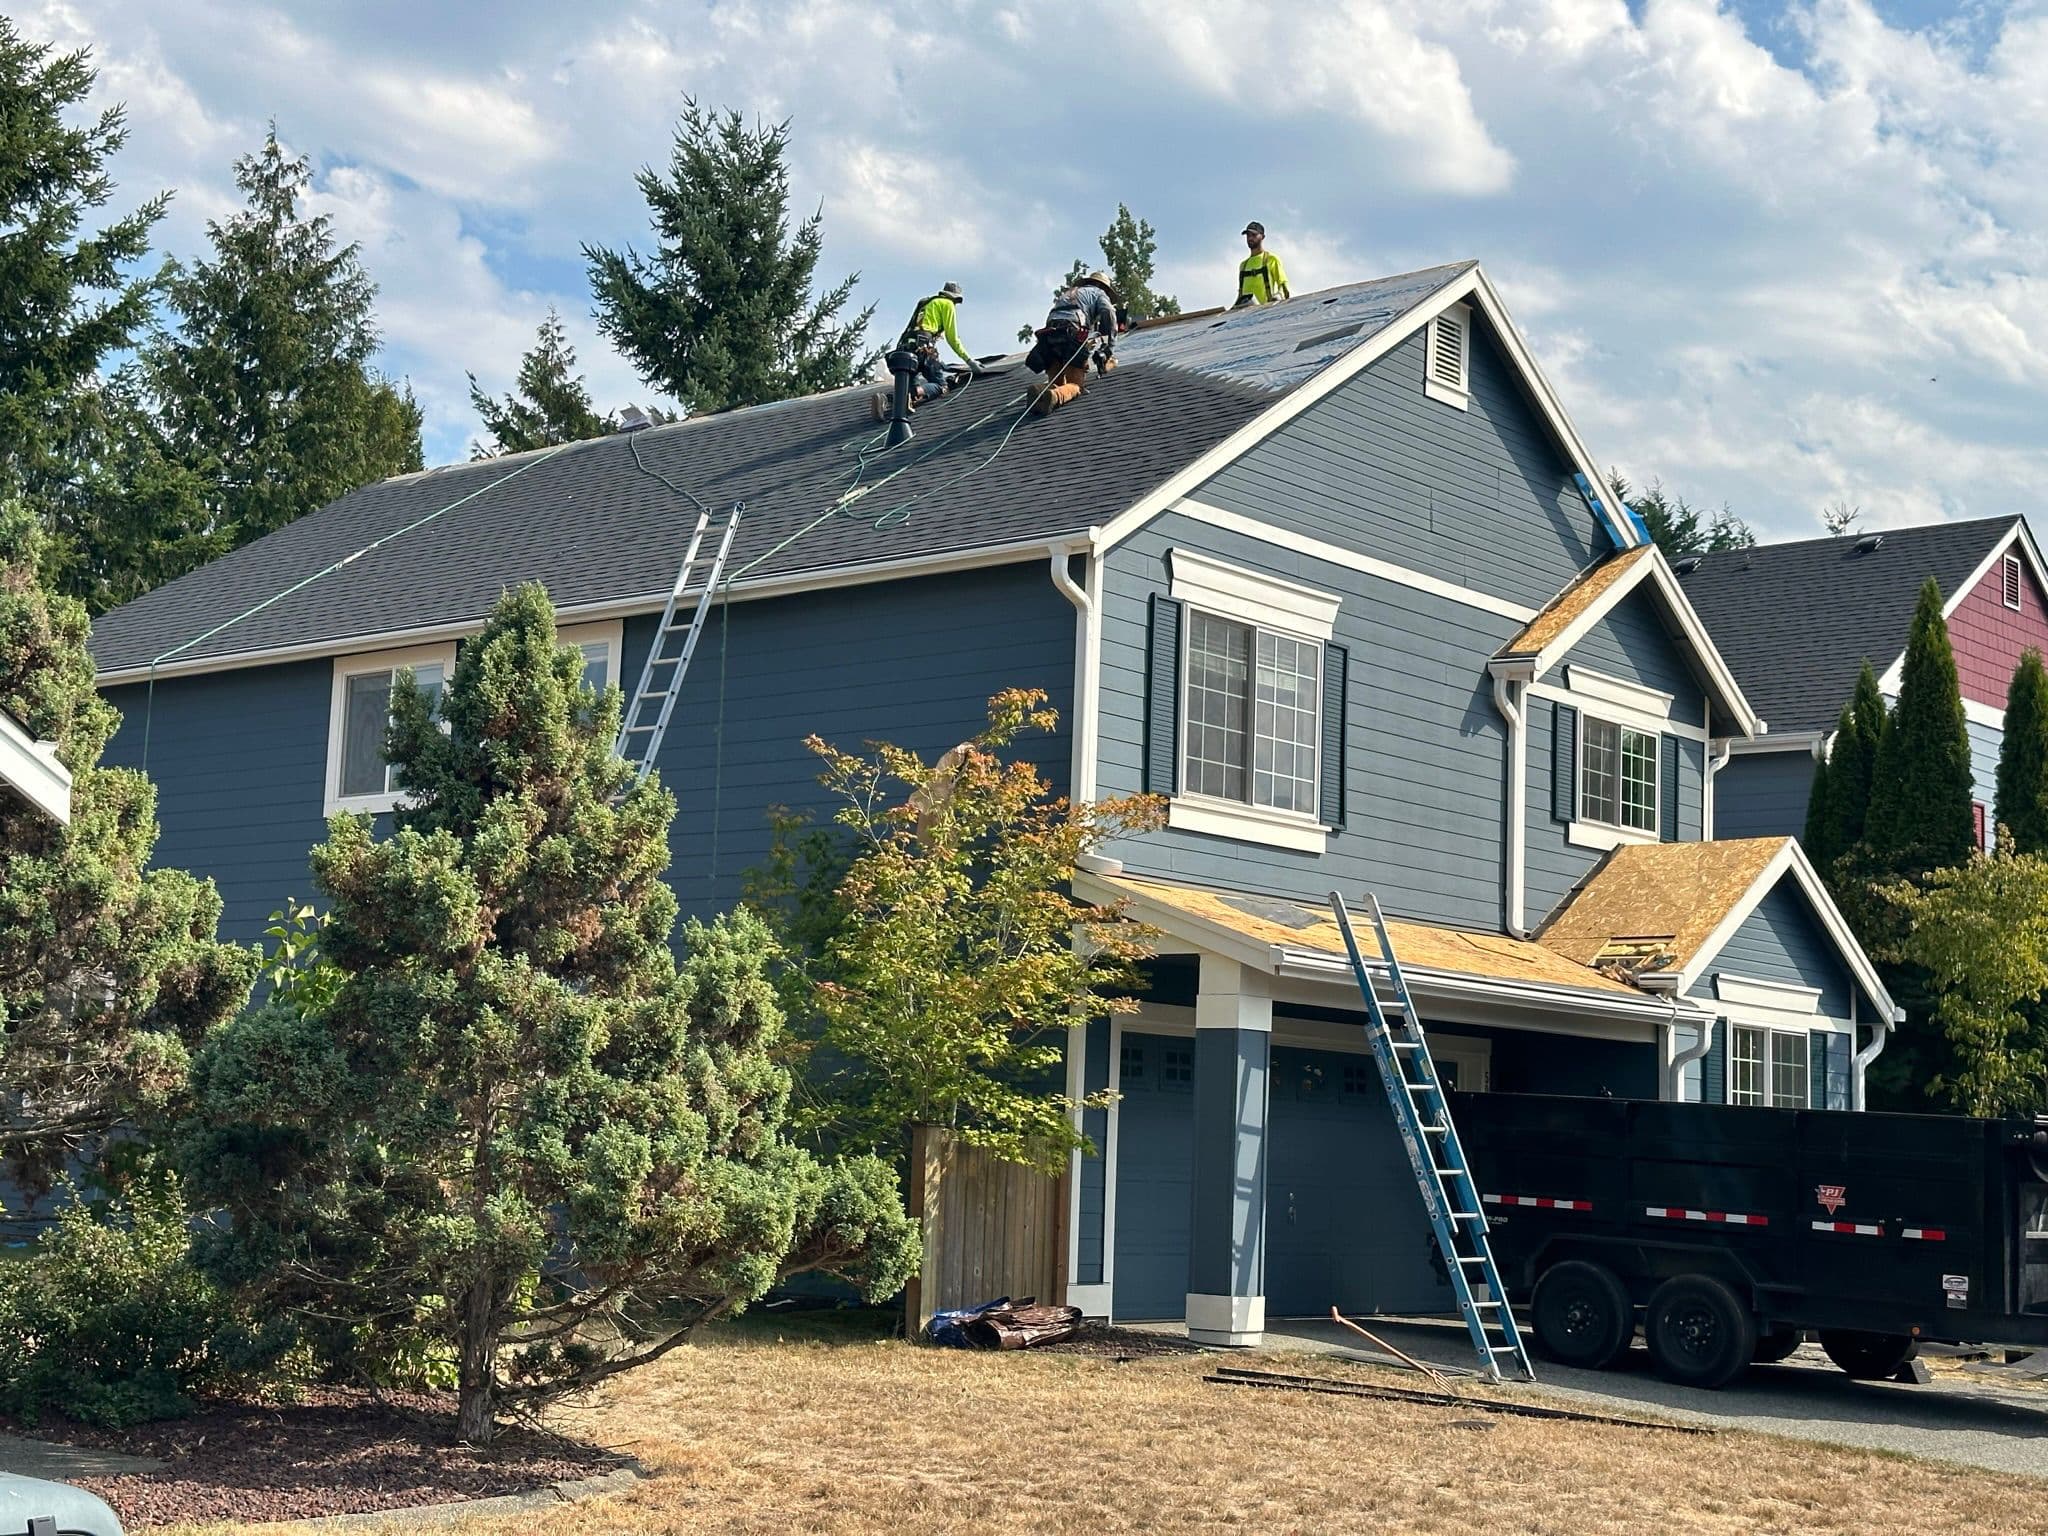
You repair a leaking roof by finding the exact point where water gets in, then fixing the part that failed, such as flashing, shingles, a membrane seam or a metal panel. Patching the stain inside does not fix the leak. A tarp or sealant only buys time. King Roof Care repairs roof leaks for homeowners in Kirkland, Bothell, Everett, Issaquah and Redmond, WA, starting with a free, no-obligation roof assessment.
First Steps When a Roof Starts Leaking Inside Your Home
When a roof starts leaking, protect the inside of your home first. Do not climb onto the roof. The steps below are general guidance that applies to most homes. None of them replaces a proper repair.
- Move furniture, electronics, rugs and stored papers out of the drip zone. Cover anything you cannot move with plastic sheeting.
- Catch the water with buckets, bins or towels. Empty them often so they do not overflow.
- If water is near a light fixture, ceiling fan or outlet, turn off that circuit at the electrical panel before doing anything else. If you would have to walk through water to reach the panel, or you are unsure which circuit it is, leave the area and call an electrician.
- If the ceiling is bulging with trapped water, keep people and pets out from under it, because a soaked ceiling can give way without warning. Never puncture a bulge near a light fixture, fan or wiring. Only when the power to that area is off and the bulge is clear of fixtures, some homeowners poke a small hole at the lowest point over a bucket, standing to the side and using a tool with a long handle, so the water drains in a controlled way. If the ceiling is sagging heavily or cracking, stay out of the room and call a professional instead.
- Take dated photos and short videos of the stain, the drip, the attic if you can reach it safely, and any damaged belongings. This gives you a clear record of what happened and when.
- Write down when the leak appears: only in heavy rain, only in wind-driven rain, or days after a storm. That pattern helps a roofer trace the source.
Temporary Roof Leak Fixes: What Each One Can and Cannot Do
Temporary roof leak fixes are stopgaps. They buy time until the failed part of the roof gets a proper repair. The table compares five common options in plain terms and does not promise how long any patch will hold.
| Temporary fix | Where it fits | Main limitation |
|---|---|---|
| Tarp fastened over the damaged area | Larger damaged sections, missing shingles, openings left by a storm | Needs safe roof access; wind can lift a poorly secured tarp, and fasteners can create new holes |
| Roofing cement | Small cracks and gaps around a vent or along a flashing edge | Covers the failed part instead of fixing it |
| Self-adhesive roofing tape | Small holes and split seams | Sticks poorly to wet, dirty or mossy surfaces |
| Rubber patch material | Small damage on flat roof sections | Does nothing about ponding water or a membrane that is failing |
| Plastic sheeting from inside | Last resort when the roof cannot be reached safely | Only catches and redirects water; the roof keeps leaking |
Roof Leak Safety and a Checklist for When to Call a Roofer
Patching a roof leak from a ladder is risky, especially on wet, mossy or steep surfaces. Safety comes before any DIY patch. As general guidance, stay off the roof in rain, wind or darkness. Never work alone, and keep clear of power lines near the eaves.
- The leak comes back after a patch, or it appears in more than one spot.
- Water shows up around a chimney, skylight, vent, or a wall where flashing meets the roof.
- The ceiling is sagging, or you see wet insulation or dark sheathing in the attic.
- Water is reaching light fixtures, outlets or wiring.
- Shingles are missing, cracked or curling, or panels on a metal roof are loose or corroded.
- A flat roof section still holds standing water after the rain stops.
- Gutters overflow, sag or leak at the seams, sending water back toward the roof edge or walls.
- The leak started after a windstorm or a fallen branch.
Where Roof Leak Water Shows Up and Which Source to Check
Roof leak water often shows up some distance from where it gets in. Treat the location of the drip as a clue, not an answer. The table matches common places where water appears with the roof parts worth checking first.
| Where water appears inside | Roof parts worth checking |
|---|---|
| Ceiling near a chimney | Chimney flashing where it meets the roof |
| Around a bathroom or kitchen exhaust fan | Vent pipe boot, vent cap or exhaust flashing |
| Below a skylight | Skylight flashing and the seal between the frame and the roof |
| Along an exterior wall or near the eaves | Overflowing gutters, or step flashing where the roof meets the wall |
| Middle of a ceiling with nothing above it | Missing or damaged shingles, a failed valley, or water traveling along the framing |
| Under a flat roof section | Ponding water, membrane seams or punctures |
Permanent Roof Leak Repairs for Each Common Cause
A permanent roof leak repair replaces or rebuilds the part that let water in, instead of sealing over it. The table below is general guidance on what a lasting repair usually involves for each common cause. The exact method depends on the roof system and on what the inspection finds once the area is opened.
| Cause of the leak | What a permanent repair generally involves |
|---|---|
| Lifted, cracked or corroded flashing at a chimney, wall or valley | Removing the failed flashing and installing or resetting flashing so it laps correctly under and over the surrounding roofing, rather than smearing sealant over the gap |
| Cracked or worn vent pipe boot | Replacing the boot and re-securing the shingles around it so water runs over the boot, not behind it |
| Missing, cracked or torn shingles | Removing the damaged shingles, checking the underlayment and sheathing below, and installing matching shingles worked into the existing courses |
| Skylight leak | Re-flashing the skylight and resealing the joint between the frame and the roof; replacing the unit if the frame or glazing seal has failed |
| Flat roof ponding, open seams or punctures | Repairing the damaged membrane and seams and correcting the drainage that lets water stand; replacing the membrane when it is failing across the roof |
| Metal roof corrosion, loose fasteners or damaged panels | Resealing seams and fasteners and replacing panels that are corroded or damaged |
| Overflowing or leaking gutters | Clearing clogs, sealing leaking seams and rehanging sagging runs so water leaves the roof edge |
| Soft or rotted roof sheathing | Cutting out and replacing the damaged sheathing before new underlayment and roofing go back on |
How King Roof Care Repairs a Leaking Roof Across the Eastside and Everett
Roof leak repair at King Roof Care starts with a thorough inspection to find the exact source of the problem. The drip inside the house and the opening on the roof are not always in the same place.
- Flashing repairs around chimneys, vents and skylights
- Metal roof repairs for corrosion, damaged panels and sealing
- Flat roof repairs for ponding water and membrane issues
- Structural repairs, including reinforcing trusses and fixing sagging areas
- Gutter repairs for leaking seams, sagging runs and clogs in Kirkland, Bothell, Everett, Issaquah and Redmond
What Roof Leak Repair Costs and What to Compare in an Estimate
Roof leak repair cost depends on what failed, how easy it is to reach, and how far the water spread into the decking, insulation or drywall. This guide has no sourced price for fixing a single leak.
The closest national planning figure comes from homewyse.com, and it covers storm-damaged roofing specifically: "In September 2026 the estimated national average cost to Repair Storm Damaged Roofing starts at $9.20 - $11.62 per square foot." That is a national figure, not a King Roof Care quote. A small leak around one vent is a different job from repairing a storm-damaged area, so do not apply the figure to every leak.
- The source of the leak, described in plain words and, ideally, shown in photos
- The exact scope: which flashing, shingles, panels or membrane areas will be replaced or resealed
- Whether damaged decking or sheathing will be checked once the area is opened, and how that could change the scope
- The materials named, and whether they match the existing roof system
- Related items on the same leak path, such as gutters, vent boots or skylight flashing
- Notes on interior damage, so you know what drywall or insulation work remains
Roof Leak Repair Mistakes That Lead to Rework
A roof leak repair can fail a second time when the work treats the stain instead of the source. Watch for these mistakes:
- Painting over a ceiling stain before the fix is confirmed, which hides whether water comes back
- Smearing sealant over flashing that has lifted or corroded, instead of resetting or replacing it
- Leaving wet insulation in the attic, where it can hold moisture against the sheathing
- Ignoring clogged or sagging gutters that push water back toward the roof edge
- Driving tarp fasteners through sound shingles in spots that later become new leak points
- Leaving a temporary patch in place through storm after storm
Frequently asked questions
Is it expensive to fix a leaky roof?
The cost to fix a leaky roof depends on what failed and how far the water spread, and no sourced price for a single leak is available here. As a national planning figure, homewyse.com (September 2026) puts the average cost to repair storm-damaged roofing at $9.20 - $11.62 per square foot. That is a national figure, not a King Roof Care quote. King Roof Care provides free, no-obligation assessments and a written estimate before any work starts.
Can flex seal stop roof leaks?
Flex Seal and similar liquid sealants can slow a small leak for a while, but they are a temporary measure, not a repair. A sealant does not replace lifted flashing, a cracked vent boot or missing shingles, and it can hide the failed part. Have the source confirmed and repaired properly as soon as you can.
How to apply Henry wet patch roof leak repair?
Henry Wet Patch roof leak repair is applied like other roof cement patches, and the product label has the final word on surface conditions, thickness and curing. As general guidance: only work from safe roof access, never in wind or lightning. Clear away moss, debris, loose granules and any standing water from the crack or gap. Using a trowel, putty knife or caulk gun, depending on the package, press the cement firmly into the crack, then spread it so it extends past the edges onto sound roofing and feather the edges smooth. For wider gaps, many roof cement labels call for embedding reinforcing fabric between two coats; check whether yours does. Treat the patch as temporary until the failed flashing, shingle or seam is properly repaired.